As I’ve often mentioned, I’m the primary mechanic on all my cars. If something breaks, I’m the one who’s going to be fixing it. Sometimes, it’s not so much a matter of a part being broken as it is of something being worn out. Such was the case recently when I did some work on my car’s front sway bar.
The name “sway bar” is something of a misnomer. As one of my co-workers often points out, it’s really more of an “anti-sway bar.” Alternately, and arguably more accurately, they’re also known as stabilizer bars. A sway bar is part of a car’s suspension, running laterally under the car. It stiffens the car’s suspension, but in a very specific way. As it ties the left and right of the car together, it limits body roll during hard cornering. When the setup is worn, the car won’t corner as well as it should.
A typical sway bar setup is fairly simple. The sway bar itself is exactly that, a bar, generally straight, but usually curved at the ends where it connects to the left and right side of the suspension. Sway bars are usually connected to the car’s frame or unibody in the center with rubber bushings set in brackets. On the outer ends, sway bars connect to the car’s suspension control arms via sway bar links.
Servicing your vehicle’s sway bar setup is easy. Unlike other parts of your car’s suspension, it’s generally not under load. First, raise either the front or rear of the car, as applicable, and place jack stands under safe, structural supports. Once that’s done, get under the car and find your sway bar. You can inspect it by grabbing it and wiggling it. If the bar moves against the bushings, and/or there’s noticeable play in the links, it’s time to start replacing parts.
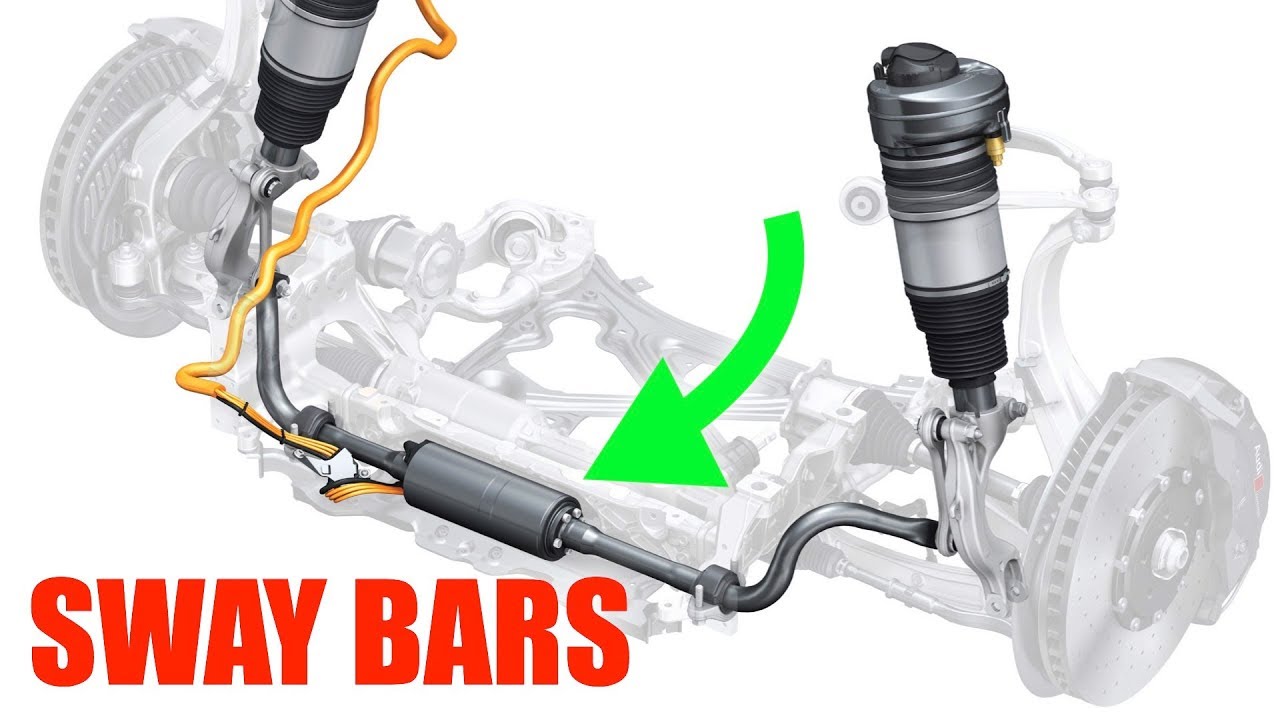
When servicing the sway bar, it’s best to replace the links and bushings at the same time. There’s usually no need to remove the whole setup from the car. In order to replace the bushings, simply unbolt the sway bar bushing brackets from the car’s body, pull out and replace the bushings, and then bolt the brackets back in place, observing the proper torque specification. The links will keep the bar suspended and from falling on you while working. Once the new bushings are in, unbolt the links from both the control arms and from the sway bar itself. Once the old parts are out of the way, simply bolt the new ones in place and tighten them down to the proper torque specification.
This is a simple repair, and once it’s done, you should notice an improvement in your car’s handling and cornering ability.

