diy

Read Your Car’s Error Codes and Save Money on Repairs
It is hardly surprising that our cars are now more intelligent than ever in today’s fast-paced society where technology is seamlessly incorporated into our daily lives. Intricate diagnostic systems are now standard in modern automobiles, and they communicate with us via error codes to give us information about any problems
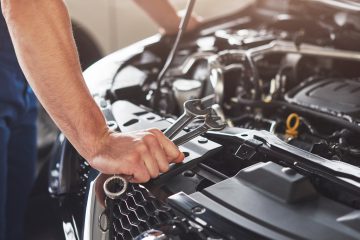
The Ultimate Guide to Automotive Maintenance and Replacement Parts for Peak Performance
Your car is a complex machine that requires regular maintenance to keep it running smoothly and efficiently. By following a regular maintenance schedule, you can help to prevent costly repairs down the road. In addition to regular maintenance, there are also a number of replacement parts that you may need
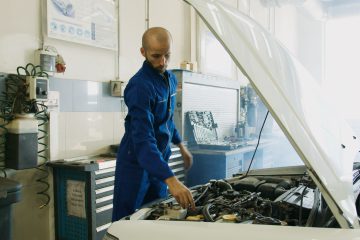
Mastering Car Care: Common Problems, DIY Fixes, and Preventive Tips for Smooth Rides
Your car is a big investment, and it’s important to take care of it. Regular car care can help to prevent costly repairs and extend the life of your car. In this blog post, we will discuss common car problems, DIY fixes, and preventive tips for smooth rides. From the
Alternator replacement
There are certain parts of your car that, if removed, render your car immediately useless. Without the wheels, your car won’t roll. Without the transmission, it won’t move. Then, there are other parts, that if removed, wouldn’t make a bit of difference in getting you to your destination. Your car
Headlight bulb replacement
Your car’s headlights are important. Without them, driving in the dark would be an unnecessarily dangerous challenge. In some states, you’re required to drive with your headlights on if it’s raining, even in the middle of the day. So, when one of your headlight bulbs burn out, you’re best off

A decent car on a budget
So, the time has finally come for me to replace my wife’s car. Not to toot my own horn, but I’ve done a pretty decent job keeping it running all these years. After all, the car has 320,000 miles on its original, unopened engine and automatic transmission, so I must
Shock and strut replacement
If you’re out on the highway and you’re feeling every crack in the road and every pebble you drive over, chances are that your shocks or struts are worn out and need to be replaced. Shocks and struts perform the same basic function – dampening road vibration. When they wear